CSV File
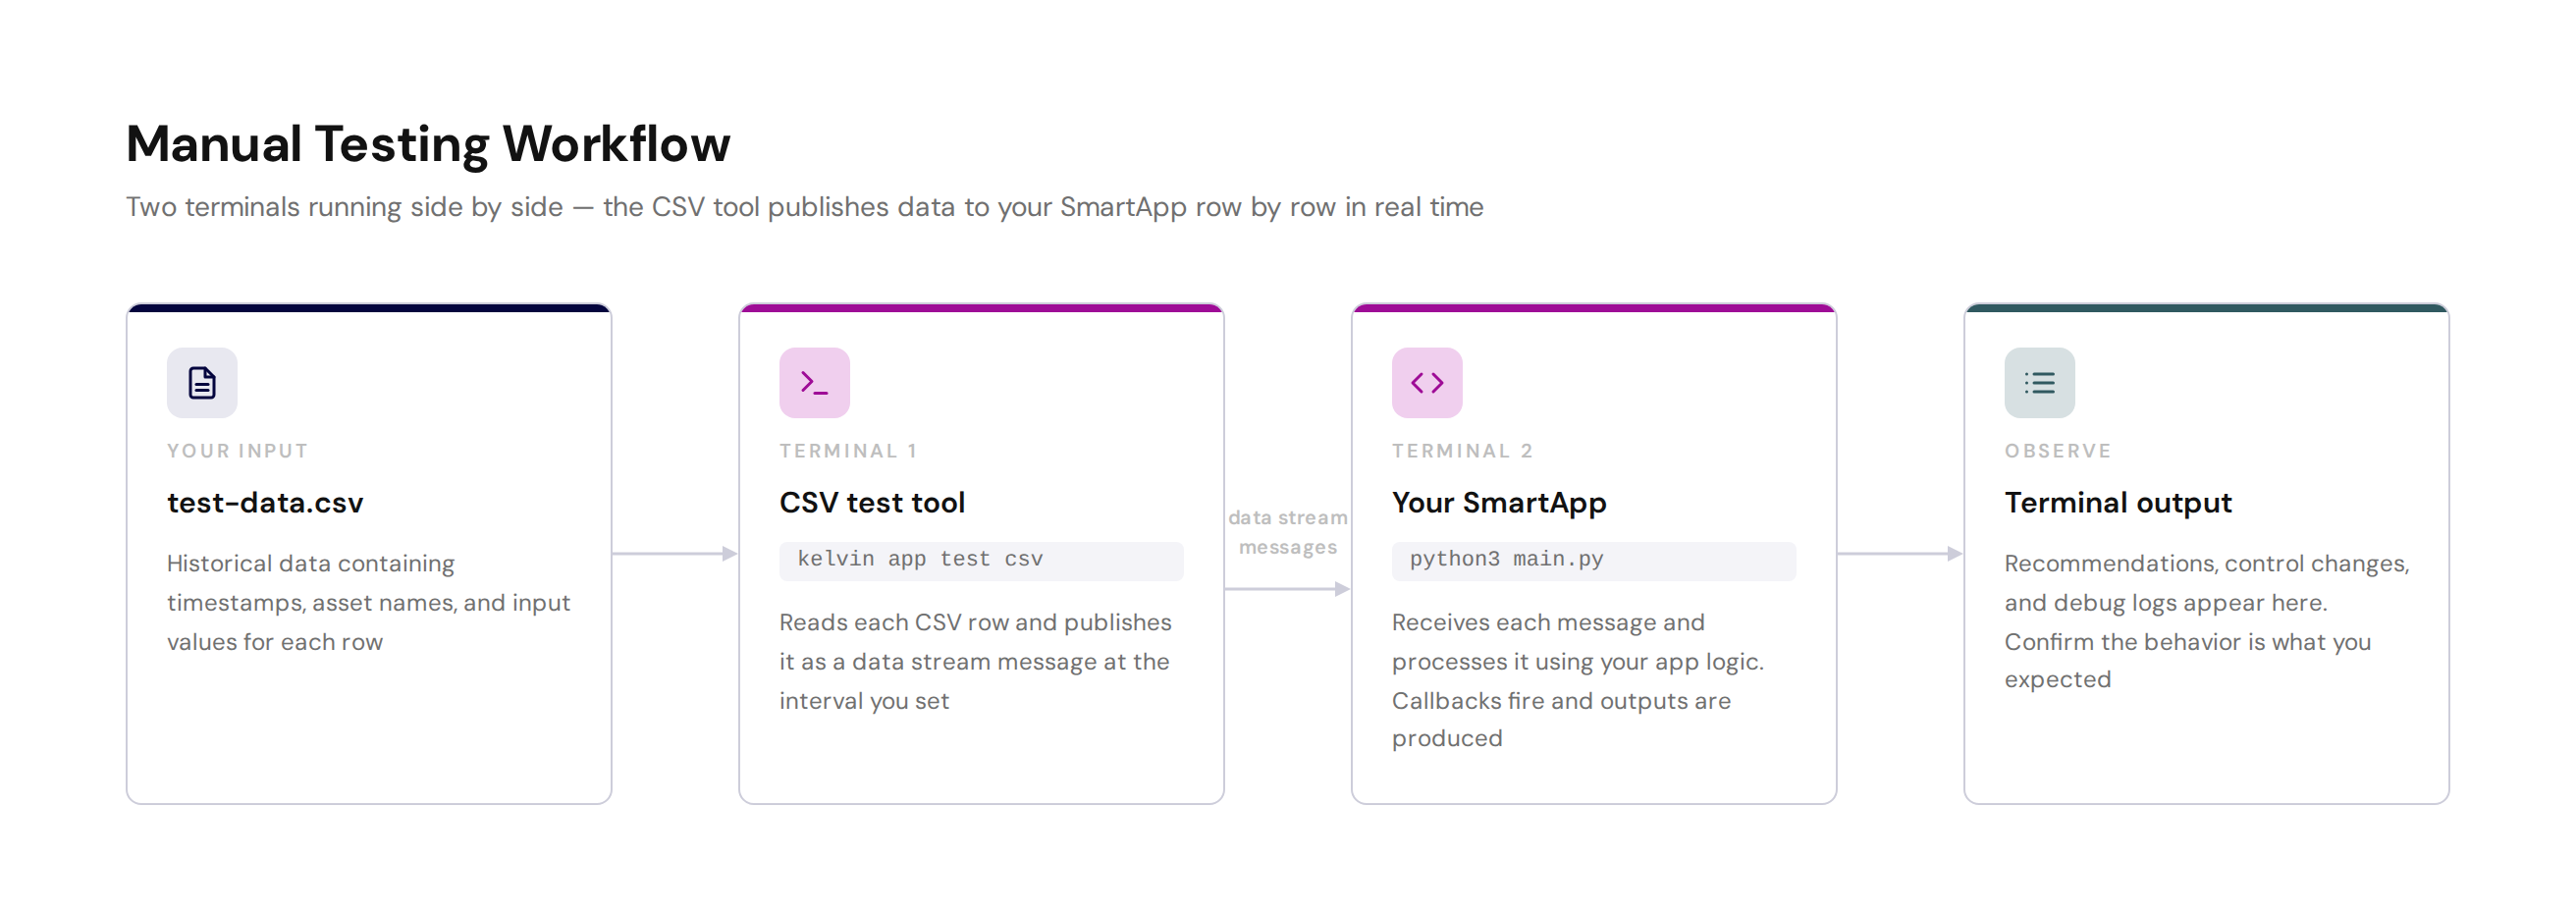
CSV testing replays a file of recorded data through your Application, row by row, in real time. You run the CSV tool in one terminal and your app in another. The tool reads each row and publishes it as a data stream message to your app.
Use this when you have historical data from your process and want to confirm your app responds correctly to real-world values.
Your CSV file
Structure your CSV with these columns:
timestamp— event time for each rowasset_name— which asset the row belongs to- One column per input data stream defined in your
app.yaml
Example test-data.csv
timestamp,asset_name,temperature
2023-10-27T10:00:01,doc_demo_plunger_01,50
2023-10-27T10:00:02,doc_demo_plunger_01,51
2023-10-27T10:00:03,doc_demo_plunger_01,52
2023-10-27T10:00:04,doc_demo_plunger_01,53
2023-10-27T10:00:05,doc_demo_plunger_01,55
2023-10-27T10:00:06,doc_demo_plunger_01,60
2023-10-27T10:00:07,doc_demo_plunger_02,56
2023-10-27T10:00:08,doc_demo_plunger_02,57
2023-10-27T10:00:09,doc_demo_plunger_02,58
2023-10-27T10:00:10,doc_demo_plunger_02,59
2023-10-27T10:00:11,doc_demo_plunger_02,60
Requirements
The kelvin CLI must be installed and you must have a valid app.yaml in your project folder. If you created your app with kelvin app create, both are already in place.
You can use config.yaml to override values from app.yaml without changing your committed files. Read more in Create an Application.
Step 1: Start the CSV test tool
Open a terminal in your app folder and run:
The tool reads your CSV and publishes one row per second. You will see log output like this:
INFO:kelvin.testing:Starting CSV test with test-data.csv
INFO:kelvin.testing:[1/11] 2023-10-27T10:00:01 doc_demo_plunger_01 temperature=50
INFO:kelvin.testing:[2/11] 2023-10-27T10:00:02 doc_demo_plunger_01 temperature=51
INFO:kelvin.testing:[3/11] 2023-10-27T10:00:03 doc_demo_plunger_01 temperature=52
...
INFO:kelvin.testing:[11/11] 2023-10-27T10:00:11 doc_demo_plunger_02 temperature=60
INFO:kelvin.testing:CSV replay complete
Available options:
| Parameter | Required | Description |
|---|---|---|
--csv |
Required | Path to your CSV file. |
--config |
Optional | Path to app.yaml. Defaults to the current directory. |
--publish-interval |
Optional | Seconds between published rows. Defaults to the timestamp difference between rows in the CSV. |
--ignore-timestamps |
Optional | Ignore the timestamps in the CSV and use the current clock time instead. |
--now-offset |
Optional | Shift the first CSV timestamp to now, so data appears as if it is happening in real time. |
Step 2: Run your Application
Open a second terminal in the same folder and run:
Your Application starts and connects. As the CSV tool publishes each row your app receives it and processes it:
INFO:my_app:Connected
INFO:my_app:Received temperature=50 for doc_demo_plunger_01
INFO:my_app:Value within normal range for doc_demo_plunger_01
INFO:my_app:Received temperature=60 for doc_demo_plunger_01
INFO:my_app:Threshold exceeded — publishing alert for doc_demo_plunger_01
Step 3: What to look for
Watch the Application terminal and confirm:
- Your app receives the values and they look correct
- Callbacks fire in the order you expect based on the CSV row sequence
- Threshold or rule logic fires at the rows where you expect it to
- Outputs such as recommendations or control changes appear when expected
When the CSV tool reaches the last row it stops. Your Application keeps running until you stop it with Ctrl+C.
Ready to write automated tests with this CSV data? See Test Harness & Setup to get started with KelvinAppTest and CSV Source for the automated equivalent.