Custom Generator
The generator lets you write a Python class that produces exactly the messages your app needs — in exactly the order and timing you choose. Unlike the simulator or CSV tool, you are not limited to numeric data streams. You can produce any message type: data streams, custom actions, or any sequence of values that exercises a specific code path.
Use this when you need to simulate a precise sequence of events, test an edge case that a random range cannot produce, or deliver non-numeric message types manually.
Requirements
The kelvin CLI must be installed and you must have a valid app.yaml in your project folder. If you created your app with kelvin app create, both are already in place.
You can use config.yaml to override values from app.yaml without changing your committed files. Read more in Create an Application.
Step 1: Write a generator class
Create a Python file — for example mygen.py — and define a class that subclasses DataGenerator. Implement an async def run() method that yields messages one at a time.
import asyncio

from kelvin.testing.generator import DataGenerator
from kelvin.message import Number
from kelvin.krn import KRNAssetDataStream


class MyGenerator(DataGenerator):

    async def run(self):
        # Yield a rising sequence of temperature values to trigger a threshold
        for value in [60.0, 65.0, 70.0, 78.0, 82.0, 90.0, 95.0]:
            yield Number(
                resource=KRNAssetDataStream("doc_demo_plunger_01", "temperature"),
                payload=value,
            )
            await asyncio.sleep(1)   # pause 1 second between each value
Each yield delivers one message to your app. The resource identifies which asset and data stream the value belongs to. Add asyncio.sleep() calls to control the timing, or yield messages in quick succession to simulate a burst.
You can also iterate over self.asset_names if you want the generator to send the same sequence to every asset in your app.yaml:
async def run(self):
    for asset_name in self.asset_names:
        yield Number(
            resource=KRNAssetDataStream(asset_name, "temperature"),
            payload=95.0,
        )
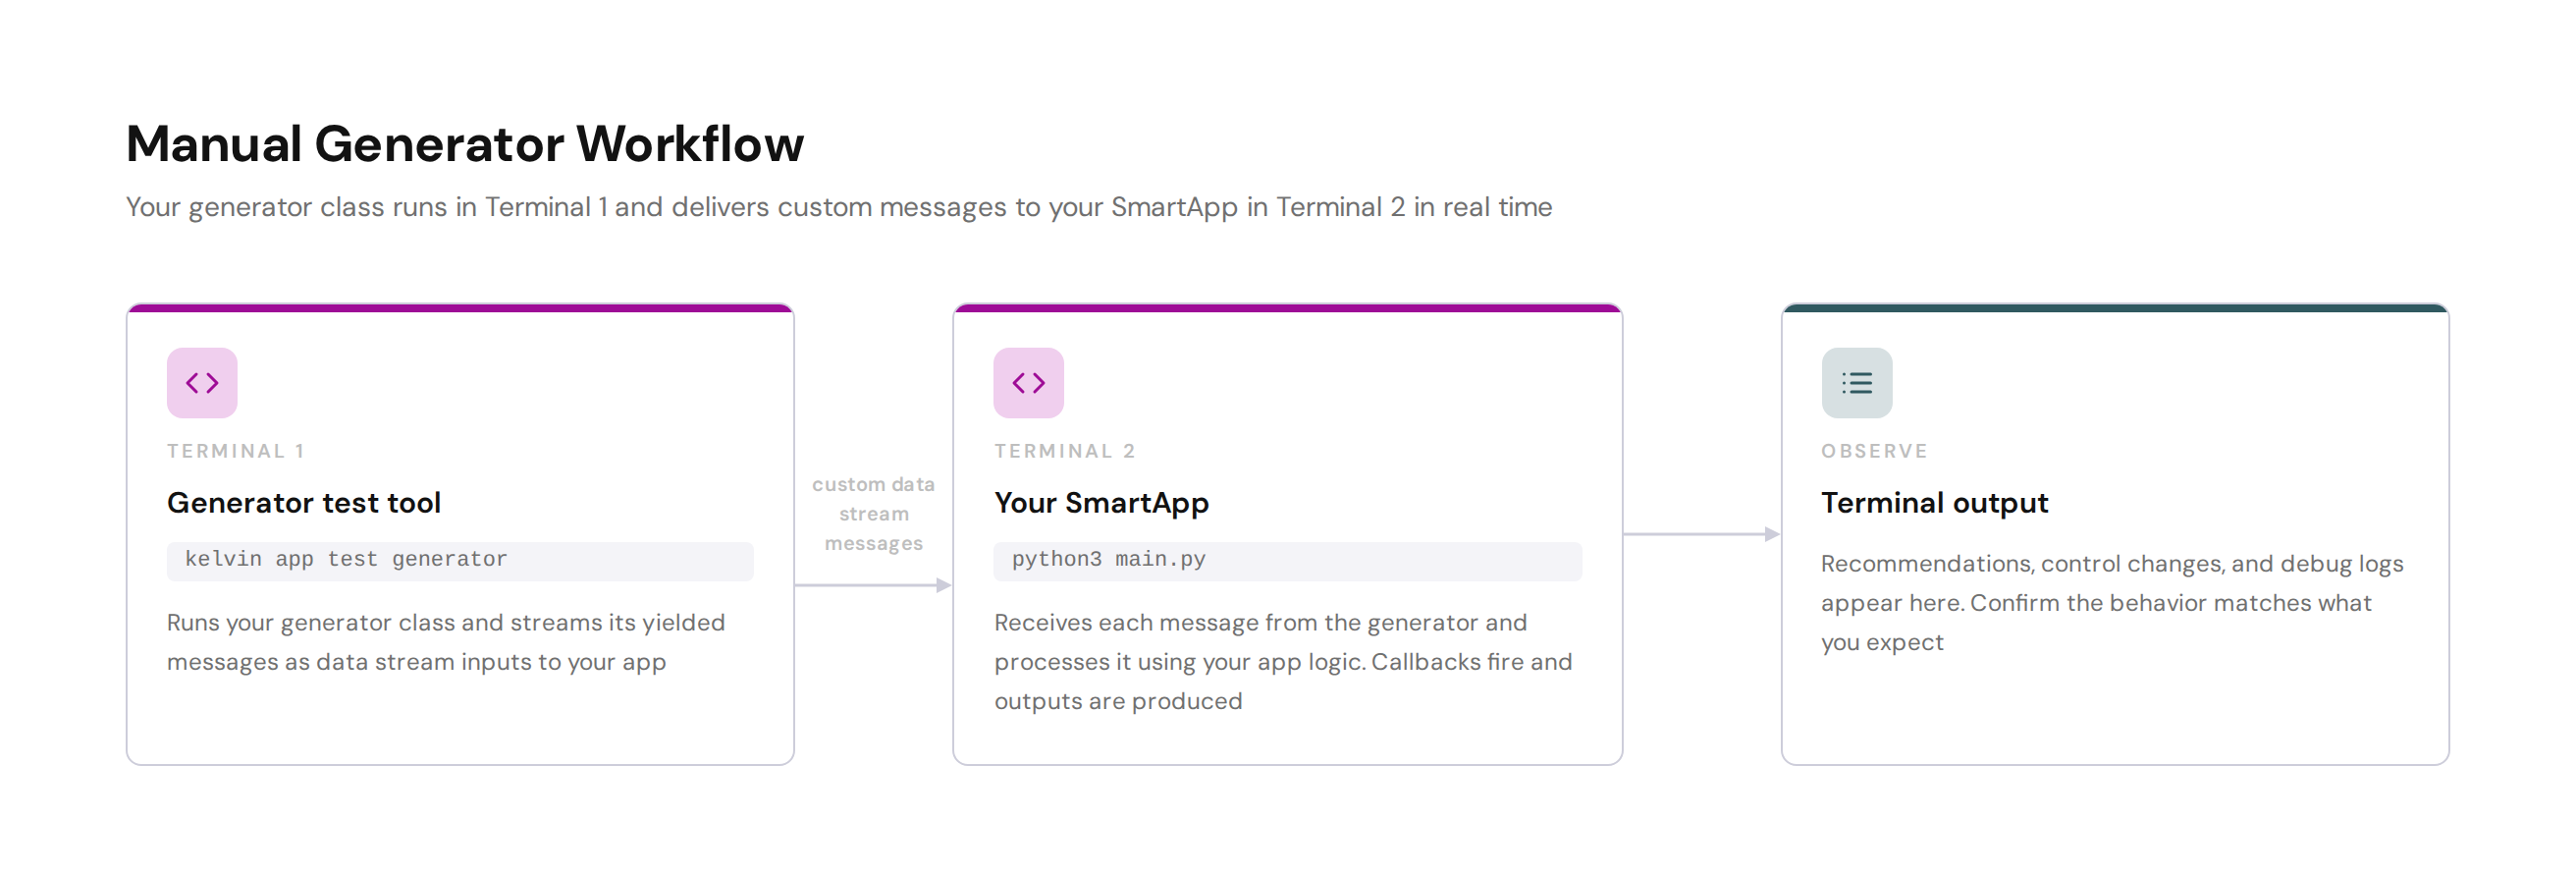
Step 2: Start the generator
Open a terminal in your app folder and run:
The --entrypoint flag tells the CLI which file and class to load. The generator starts and calls run(), publishing each yielded message.
INFO:kelvin.testing:Starting generator test
INFO:kelvin.testing:Loaded MyGenerator from mygen.py
INFO:kelvin.testing:Publishing Number temperature=60.0 to doc_demo_plunger_01
INFO:kelvin.testing:Publishing Number temperature=65.0 to doc_demo_plunger_01
INFO:kelvin.testing:Publishing Number temperature=70.0 to doc_demo_plunger_01
INFO:kelvin.testing:Publishing Number temperature=78.0 to doc_demo_plunger_01
Available options:
| Parameter | Required | Description |
|---|---|---|
--config |
Optional | Path to app.yaml. Defaults to the current directory. |
--entrypoint |
Required | Path to your Python file and class name in filename.py:ClassName format. |
Step 3: Run your Application
Open a second terminal in the same folder and run:
Your Application starts and connects. As your generator yields each message, the app receives it and processes it:
INFO:my_app:Connected
INFO:my_app:Received temperature=60.0 for doc_demo_plunger_01
INFO:my_app:Value within normal range for doc_demo_plunger_01
INFO:my_app:Received temperature=82.0 for doc_demo_plunger_01
INFO:my_app:Threshold exceeded — publishing alert for doc_demo_plunger_01
Step 4: What to look for
Watch the Application terminal and confirm:
- Callbacks fire for each message received
- Values arrive in the order your
run()method produces them - Logic that depends on a specific sequence or threshold fires at the right point
- Outputs appear when expected
When your generator finishes yielding, both processes wind down naturally. Stop them at any time with Ctrl+C.
For automated testing with a specific message sequence, use harness.publish() directly in your test — no generator class needed. See Publish Data Streams to get started. For custom action messages specifically, see Publish Custom Actions.